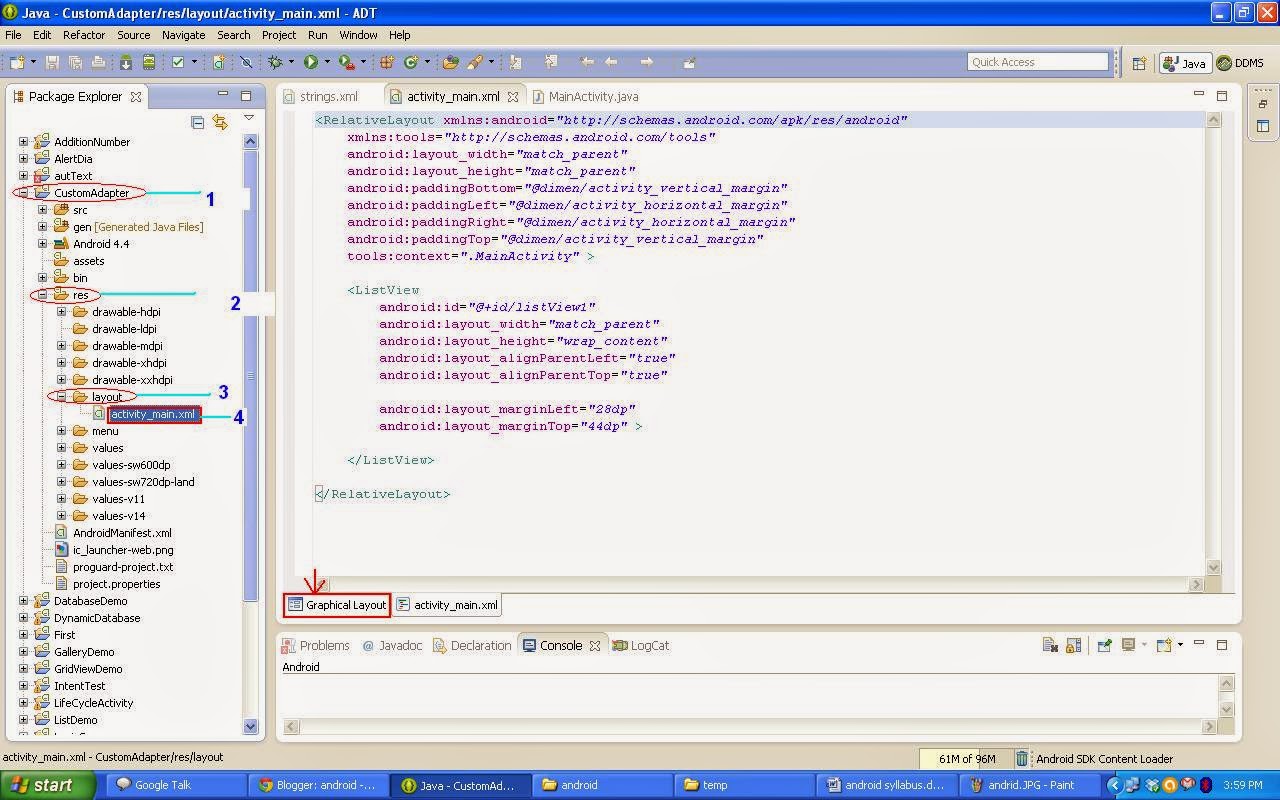
<RelativeLayout xmlns:android="http://schemas.android.com/apk/res/android"
xmlns:tools="http://schemas.android.com/tools"
android:layout_width="match_parent"
android:layout_height="match_parent"
android:paddingBottom="@dimen/activity_vertical_margin"
android:paddingLeft="@dimen/activity_horizontal_margin"
android:paddingRight="@dimen/activity_horizontal_margin"
android:paddingTop="@dimen/activity_vertical_margin"
tools:context=".MainActivity" >
<TextView
android:id="@+id/textView1"
android:layout_width="wrap_content"
android:layout_height="wrap_content"
android:layout_alignParentLeft="true"
android:layout_alignParentTop="true"
android:layout_marginLeft="25dp"
android:layout_marginTop="32dp"
android:hint="Enter Contact Number" />
<EditText
android:id="@+id/editText1"
android:layout_width="wrap_content"
android:layout_height="wrap_content"
android:layout_alignLeft="@+id/textView1"
android:layout_below="@+id/textView1"
android:layout_marginLeft="38dp"
android:layout_marginTop="37dp"
android:ems="10"
android:inputType="textPersonName" >
<requestFocus />
</EditText>
<Button
android:id="@+id/button1"
android:layout_width="wrap_content"
android:layout_height="wrap_content"
android:layout_alignRight="@+id/textView1"
android:layout_below="@+id/editText1"
android:layout_marginTop="31dp"
android:onClick="dial"
android:text="Dial" />
<Button
android:id="@+id/button2"
android:layout_width="wrap_content"
android:layout_height="wrap_content"
android:layout_alignLeft="@+id/button1"
android:layout_below="@+id/button1"
android:layout_marginTop="24dp"
android:onClick="next"
android:text="Next" />
</RelativeLayout>
- now go to MainActivity.java
package com.example.intenttest;
import android.os.Bundle;
import android.app.Activity;
import android.content.Intent;
import android.view.Menu;
import android.view.View;
public class MainActivity extends
Activity {
@Override
protected void onCreate(
Bundle savedInstanceState) {
super.onCreate(savedInstanceState);
setContentView(R.layout.activity_main);
}
public void dial(View v)
{
Intent i=new Intent();
i.setAction(Intent.ACTION_DIAL);
startActivity(i);
}
@Override
public boolean onCreateOptionsMenu(Menu menu) {
// Inflate the menu; this adds items to the action bar if it is present.
getMenuInflater().inflate(R.menu.main, menu);
return true;
}
}
Intents